Now we are on PART 2 of making the Miss Nettle Doll custom doll project. You can see PART 1 HERE.
My fourth step is making the body.
As I stated in PART 1 the doll's head was going to be a bit top heavy so I had to make adjustments to her body design. I made her neck and shoulders wider and legs longer to help compensate for the bulk of the head.
Luckily felt and stuffing are very lightweight so it wasn't too hard to figure out the right body ratios
This isn't the type of child's doll that can be undressed and that made making the body so much easier. The torso and arms are the dress color
The torso is sewn together and stuffed, then the legs are sewn together and stuffed and sewn onto the bottom of the torso. Somehow I either lost of didn't take photos of this process, darn it!
My fifth step is making the clothes and other details.
I drew out the shape of the skirt once I had the legs attached and knew the length of the doll.
The character has a underskirt that peeks through in the front of the skirt.
This was great cause it allowed me at do a double skirt, darker yellow on the outside and light butter yellow on the inside giving the doll more stability.
After the skirt was made and sewn securely to the torso I made the doll's shoes and sewed them to the feet.
One of the last things I do on a doll is add the arms.I triple sewed them through the body they way you do for a button joint without any buttons since this child is so young.and the arms can be raised a lowered.
To finish her off I made her cape that attaches in the front and is not removable. Because felt can stretch out of shape if pulled and I didn't want to add more bulk by lining the cape the way I did the skirt, I did the extra step of blanket stitching all the way around the cape to help keep it's shape.
There was one very last detail to the doll that I had to do at the very end after I finished the cape. Miss Nettle is a Fairy and has wings.
I designed a set of wings, cut them out of double pieces of felt, blanket stitched them together to give them some weight and allow them to curve giving a more wing like appearance.
The doll's wings were triple sewn onto her torso and then I made slits in her cape and then hand button hole stitched around the holes so the wings came through the cape and the holes wouldn't get distorted over time. Whew!
The final step is photographing the doll.
If I were putting this doll in my shop I'd do a whole photo shoot for it but since it was a custom and the client saw work in progress pics along the way I just shot these in my kitchen, lol.
Introducing my version of Miss Nettle. I sent my client a video of the doll and all of her features and she loved it!
My mom was kind enough to hold the doll, yep in our kitchen, so I could get full shots of her all the way around. She's a good carrying around and snuggling type of doll. Her final size was 18 inches tall and off she went to her new home.
My client told me her son knew who the doll was right away, carried her around and slept with her that first night he received her! That made me so happy. There is nothing greater than making a child happy!
I hope you enjoyed this project in my Maker Series! More of these projects can be found if you use the search bar and type sassy packrat studios maker series.
I was approached by Facebook friend who owns one of my art pieces this month, asking if I could make a specific doll for her son who was turning 4.
***Disclaimer: This is a OOAK doll and I only made one and only will ever make just that one.
Her son loves the Disney show Sofia The First and his favorite character is Miss Nettle. Now since I do not have small children anymore and my grandson lives so far away I wasn't familiar with this show. Miss Nettle seems to be a misunderstood fairy, a lot like Maleficent but in a more happy Disney way.
My first step in designing any piece is research.
I hopped on my computer and did some research on the character, and then I thought sure I can make this doll. Also during my research I saw that no one makes this doll, even Disney isn't making a soft doll version that I could find.
So I pulled some pics of the character from the internet and watched some video clips of the character singing and moving around to get a sense of who she was.
I wish this show was around when my kids were small, they would have loved it!
Then my client and I went over the details of pricing and size of the doll.
My second step is ordering supplies.
I packrat felt like, well a packrat! So I do have a lot of felt but I'm slowly moving into using all wool blend felt which I only have a few colors of and none of the colors I needed for this project. So I made a list and ordered felt.
My felt order came and I was happy with the dress and hat colors but not the hair color. So back to my computer to order more felt. I also got a swatch chart ( which I know I have somewhere but can't find since I moved my studio into this room ). Tip: Always get a swatch chart! It can be a bit expensive but it's the best way to make sure you are getting the color you think you are.
I have my swatch chart pinned to my bulletin board so I don't lose this one!
Now the hair color (bottom) and the cape color (middle) are right. I originally intended to use one color for the hair and cape but changed my mind since I had to order more felt anyway.
The 2 colors in the first pic that weren't right are perfect for Halloween projects so I will absolutely use them.
My third step is getting down to the business of designing the doll.
While I was waiting on the felt to arrive I started the doll design. Since this is a doll for a child and not an art doll, I approached the design steps very differently. Sturdiness, durability and recognizing the character were the 3 most important things. This being said, the final doll really ended up being a combination of child's doll and art doll.
This character has a very specific hair style which I had to figure out how to do without making her too top heavy. A real person with that much hair wouldn't be able to stand upright with such a tiny neck!
I designed the head first because it was the most detailed part of the doll and would take the most time. Getting this part right would make the rest of the doll so much easier.
I used lower grade felt to do a prototype of the head so I had all the details and shapes worked out before I cut into my lovely more expensive wool blend felt.
Then I realized the body pattern I planned to use (the same as my fairy tale dolls) wouldn't hold up the to weight and size of her head, so I had to give her a thicker neck. Plus I had to re-design the torso 3 times before i got it right.
Once the torso was to my liking I had to increase the length of the arms and legs to keep the doll in proportion, all while keeping the agreed upon size in mind; partially for pricing and partially to fit in my custom sized shipping boxes.
The did the face in my own personal big eyed style. It's meant to give the idea of the character but not look exactly like the character.
I was originally going to do the hair like my fairy tale dolls (below), with the details stitched on very simply. And quite honestly that's how I quoted the price.
But I was feeling nostalgic about my son whose birthday is coming up and he's all grown up with a son on his own now and I just felt like doing more for this sweet little boy and his mom who wanted to give her son the doll he wanted.
I decided to make the hair more dimensional than I originally intended. I stuffed and stitched her curls to get the exact look I was hoping for. I also stuffed and stitched curls on the back of her head too. I'm glad I went the extra mile because the end result made me so happy! It also went a long way in making this doll look like the character.
In the original prototype design I planned on the hat being part of the head like this doll below.
But the character's hat is a very big part of her and an 3D version was the way I had to go. A lot more work but completely worth it!
I hope you enjoyed this post and in Part 2 I'll finish the doll.
My blog has been pretty quiet for a while. I haven't had much to show. I had been working on a doll for a couple of months for a dear friend. It was for a doll swap. The swap was for a Fall/Autumn themed doll, whatever Fall means to you. It took a while to complete and I didn't want to show it until she received it but now I can share. Part of the reason it took so long was I designed a completely new pattern for the doll. I also spent tons of time on the accessories to make everything just right. My swap partner Moriah Betterly is such a great friend and has been so supportive of my work. We actually met in an online swap years ago. So it's like we came full circle. She loves the doll and I'm so pleased.
I borrowed photos that Moriah Betterly, my swap partner, took cause they are so much better than mine.
I made the doll a little prim doll to carry.
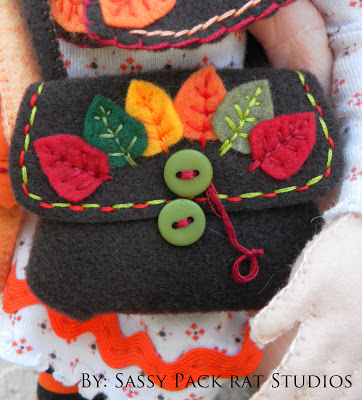
Messenger bag with appliqued fall leaves.
Little matching capelet with appliqued fall leaves.
Also a matching Tam hat.
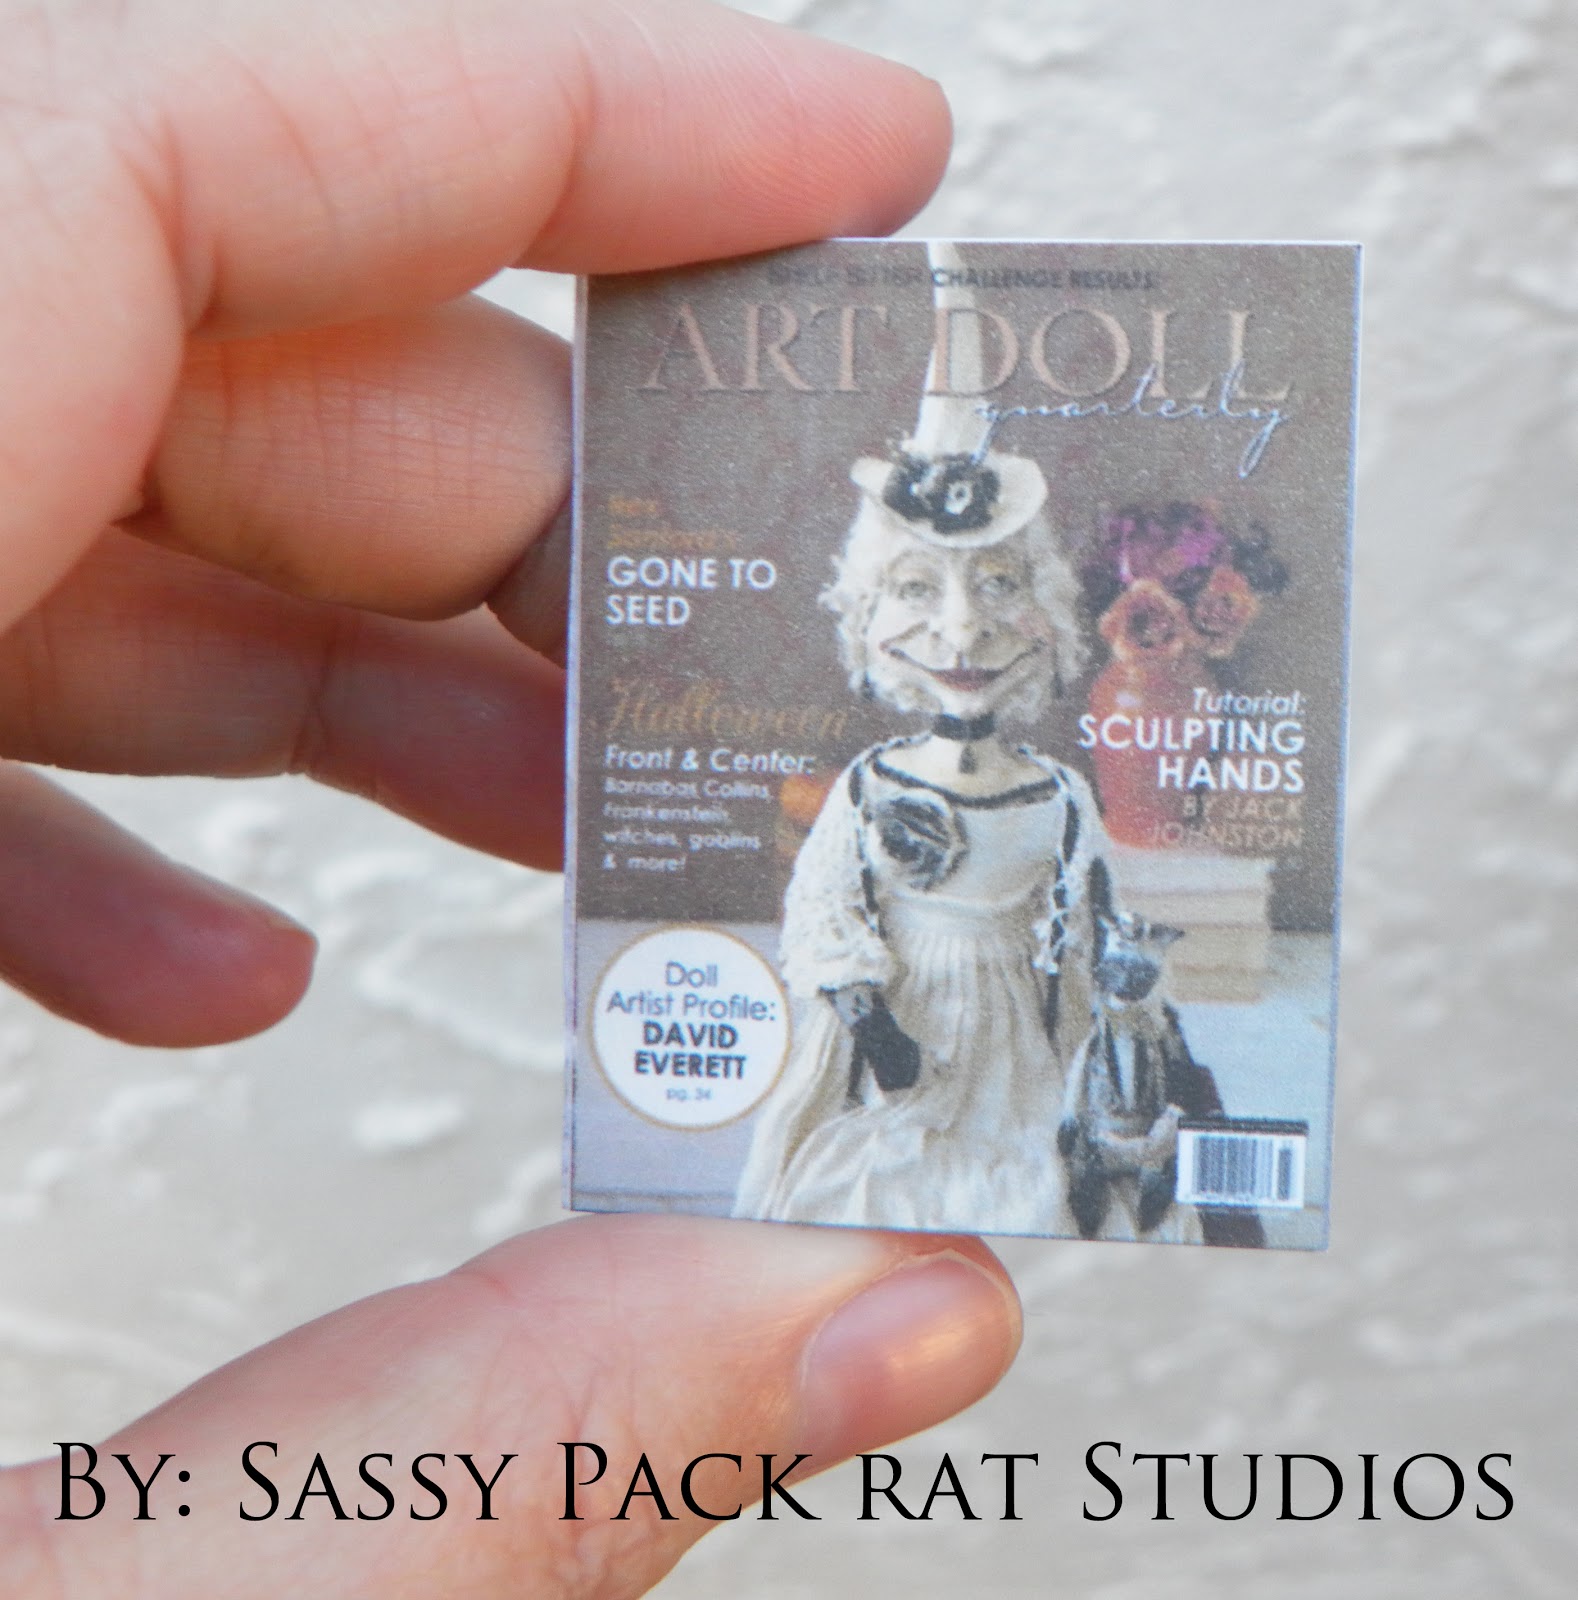
Especially for Moriah I made a little ADQ magazine that had pages of her dolls that have been published there and tucked it inside the dolls' messenger bag.
Here's the dress she is wearing under the capelet.
And a close up of the boots. I modeled these after my daughter's Uggs.
Now that Christmas is over I feel the need to get back to work so will hopefully will have more to show soon!
She plays soccer on her College team and I wanted to make a special doll for her for this special time in her life. Here's her official College Photo.
And here is the doll I made. Do you think she'll like it?
Back to making dolls now that I've ended my penguin ornament craziness. (Sorry to anyone who wanted some. I ran out of stock quickly and was making them per order.) This first one is a present for my daughter (aka Snarky Girl). It's her and she'll be dressed in her College soccer uniform. I've been working on this in front of her and she has no idea it's for her! The problem will be getting it dressed, doing the hair and hiding it so she doesn't realize it is her. Wish me luck!
Because of so many penguin ornaments and Tardis custom orders I fell behind in some projects I really wanted to do so I am starting two of them even though they won't be finished till after the holidays. Not going to tell you who they are. How about everyone guesses? Here are some hints: They are a couple and they are a little on the heavy side. Hee hee!