Pages

Showing posts with label elf doll. Show all posts

Wednesday, May 4, 2011

Changed My Mind and Started Something New

O.k. so I know I said I'd was going to do a paper clay sculpture for my mom for Mother's Day. Well......I think I started off too large and it has a mean expression on it's face and I got freaked out! I really took on more than I could chew with that project. He/it still sits on my worktable glaring at me but I need time to think about what to do with that one.
I really hate when I get overconfident! Anyhoo, by the time I figured out I wasn't going to do this it was 6 days until Mother's Day. OMG!!!!! So I remembered that my mom wanted a little elf doll to represent her character when she plays Dungeons and Dragons. Yes, my 70 year old mom is a forest elf in D&D! We are a quirky bunch here.

I had an idea how the elf body should be but I don't have a pattern of my own for the legs to do want I wanted. I remembered I saw a free pattern in "Soft Dolls and Animals" September 2010 magazine by Roberta Schechter. Here's the original pattern.
I know what does a clown have to do with an elf? I wanted the doll to be able to cross it's legs Indian style. Of course I modified the pattern to my own style. I completely re drew the hands, shortened the neck, added one of my heads on the body and all the facial details are mine. I thank Roberta very much for offering this great pattern. It was a perfect jumping off point for me.
Here's where I left off last night. I need to attach her arms, give her clothes and do her hair but I know I'll have her done in time now. I think my mom is going to love her!

Wednesday, March 16, 2011

Anatomy Of A Doll - Part 4 Finished

It's been a long time coming! This post is super photo heavy so I should have done 2 posts but I hope you will bear with me.

We last left the Elf with clothes but no hair. Here's what I did.

I started with a base of hair sewn on to cover a good portion of the scalp and add fullness underneath.

UPDATE: I added links to the bottom of this post for the rest of this series so you can follow along from the beginning.
 
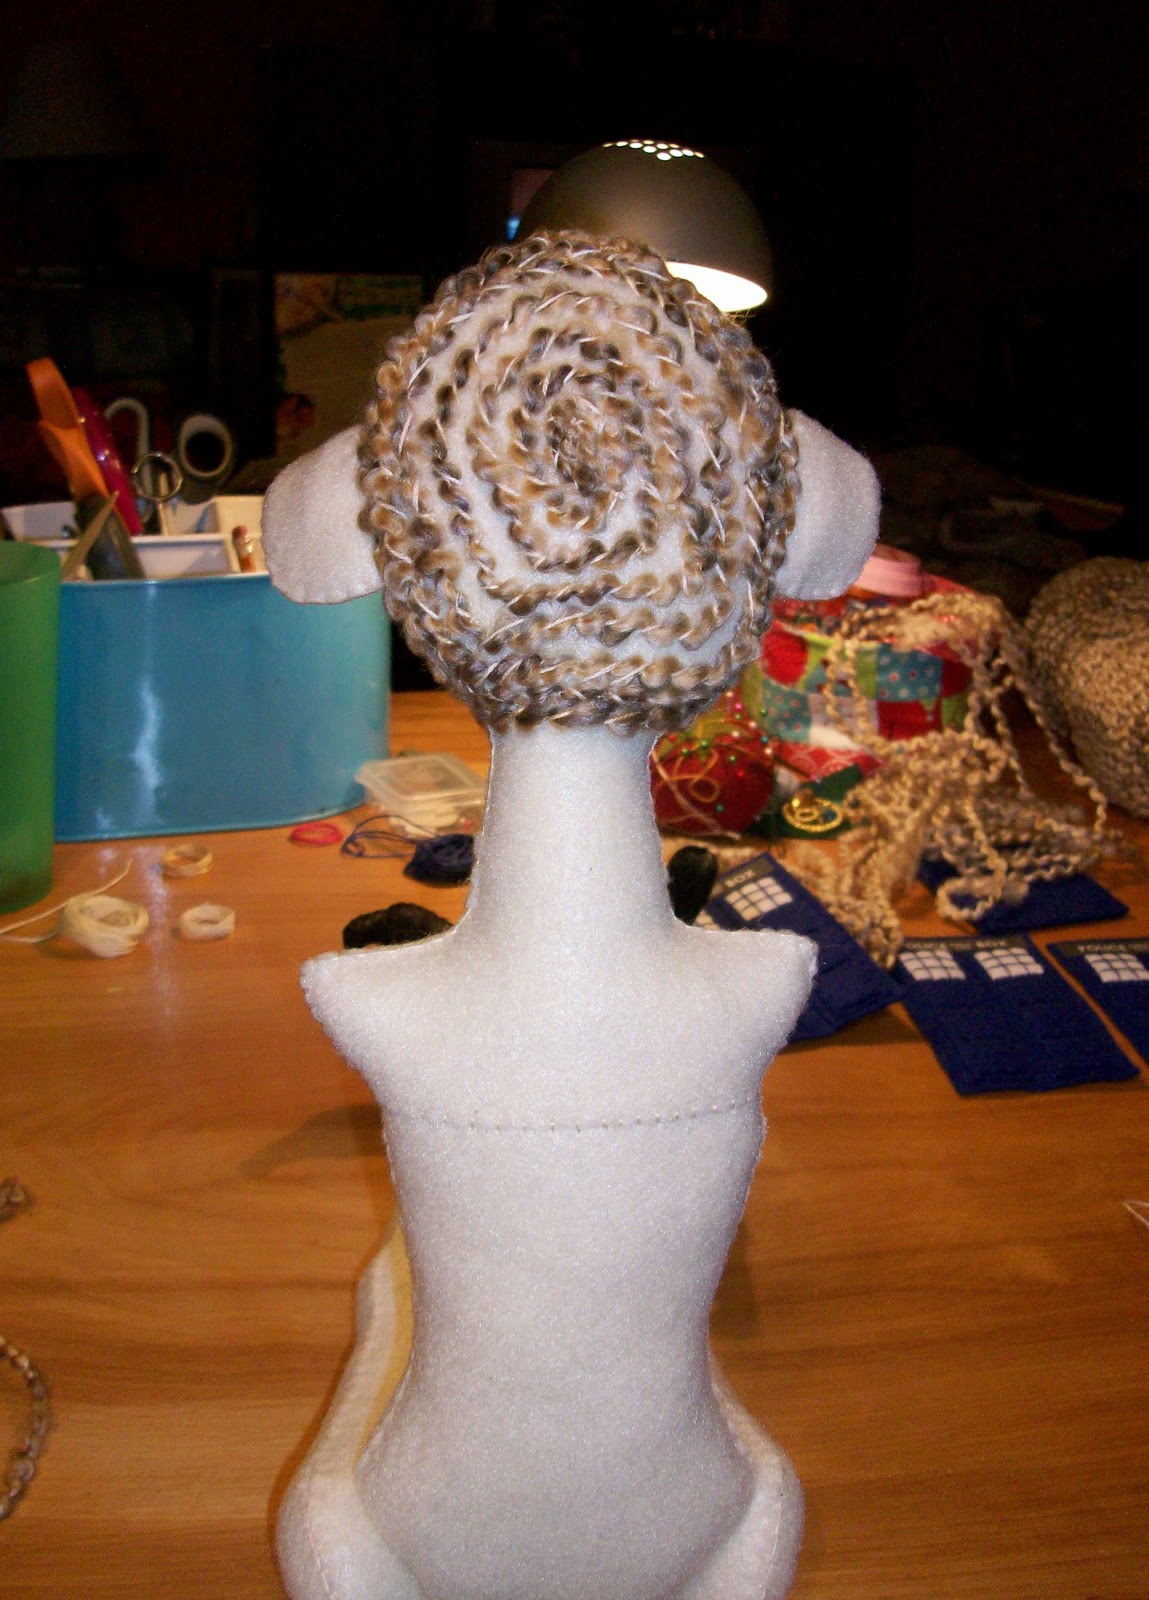
I am going for a intricate braided look without braiding and making myself crazy. I worked late into the night to get this done. It took forever. I used Homespun Yarn by Lion. It's awesome.

Here she is almost done. You can see some gaps still. I added another thicker layer and was pretty happy with how her hair turned out.

I would have shown the finished doll much sooner but her cloak design was making me crazy. I tend to over think and analyze everything way too much before I just let go and do.

Her cloak is made of the same felt as her corset and is lined with a dark green fabric. I embroidered similar designs on the front and back of the cloak as on her corset.

There is a ribbon that ties the cloak shut.

Now you can see her with her arms on. I made her a beaded sort of crown.

I did embroidery detail on her arm bands too.

 Here's her hair completely done. 

Thanks so much to everyone who followed this doll making journey. For those of you who left comments, you are awesome and I appreciate that you took the time to do so. For those of you who lurked or dropped by I also appreciate you for being interested enough to take a peek.

PART 1 CAN BE FOUND HERE, PART 2 HERE and PART 3 HERE.

I have two more projects I'm working on but will only show bits and pieces here and there so I don't stress myself out over having to post progress.

LinkWithin

Blog Widget by LinkWithin