Pages

Monday, March 28, 2011

The Mermaid is Finished.

Introducing Ianthe.
 Ianthe is a One Of A Kind Art Doll/Soft Sculpture. She's made to hang on a wall. She can stand on her tail if leaned slightly against a wall. She is completely hand-sewn from eco felt. She has wires in her hands, arms and ears so that they can be posed a bit.
Ianthe has a green ribbon and "pearls" woven in her hair . Her hair is sewn to her head. She is 28 inches tall (70 cm).
I really enjoyed making this piece. I will eventually make more Mermaids after I get a few more other fantasy ideas that are banging around in my brain out and sewn up. I hope you enjoyed seeing the finished piece.

Thursday, March 17, 2011

Tis The Luck of The Irish!

Well today is my birthday and St. Patrick's Day so I thought I'd share some of my favorites with you. So with Irish eyes a smiling here we go!
 Leprechaun Clip Art
So cute. Great for decorating!
Irish Bat Coffee Cozy
Funny and unusual
Hand Dyed Green Buttons
Squee! Buttons!
Luck of the Irish Owl
What an adorable Owl!
Baby Leprechaun Hat
So cute! Wonder if I could get
my dog to wear this?
Shamrock Pillows
Comfy and festive.
St. Pat's Cookies
Beautifully decorated!
Green Eggs and Ham
LOL! One of my Favorite Dr. Seuss Books!
Irish Cow Lampwork Bead
So sweet and adorable!


Wednesday, March 16, 2011

Anatomy Of A Doll - Part 4 Finished

It's been a long time coming! This post is super photo heavy so I should have done 2 posts but I hope you will bear with me.

We last left the Elf with clothes but no hair. Here's what I did.

I started with a base of hair sewn on to cover a good portion of the scalp and add fullness underneath.

UPDATE: I added links to the bottom of this post for the rest of this series so you can follow along from the beginning.
 
I am going for a intricate braided look without braiding and making myself crazy. I worked late into the night to get this done. It took forever. I used Homespun Yarn by Lion. It's awesome.

Here she is almost done. You can see some gaps still. I added another thicker layer and was pretty happy with how her hair turned out.

I would have shown the finished doll much sooner but her cloak design was making me crazy. I tend to over think and analyze everything way too much before I just let go and do.

Her cloak is made of the same felt as her corset and is lined with a dark green fabric. I embroidered similar designs on the front and back of the cloak as on her corset.

There is a ribbon that ties the cloak shut.

Now you can see her with her arms on. I made her a beaded sort of crown.

I did embroidery detail on her arm bands too.

 Here's her hair completely done. 

Thanks so much to everyone who followed this doll making journey. For those of you who left comments, you are awesome and I appreciate that you took the time to do so. For those of you who lurked or dropped by I also appreciate you for being interested enough to take a peek.

PART 1 CAN BE FOUND HERE, PART 2 HERE and PART 3 HERE.

I have two more projects I'm working on but will only show bits and pieces here and there so I don't stress myself out over having to post progress.

Friday, March 11, 2011

A New WIP

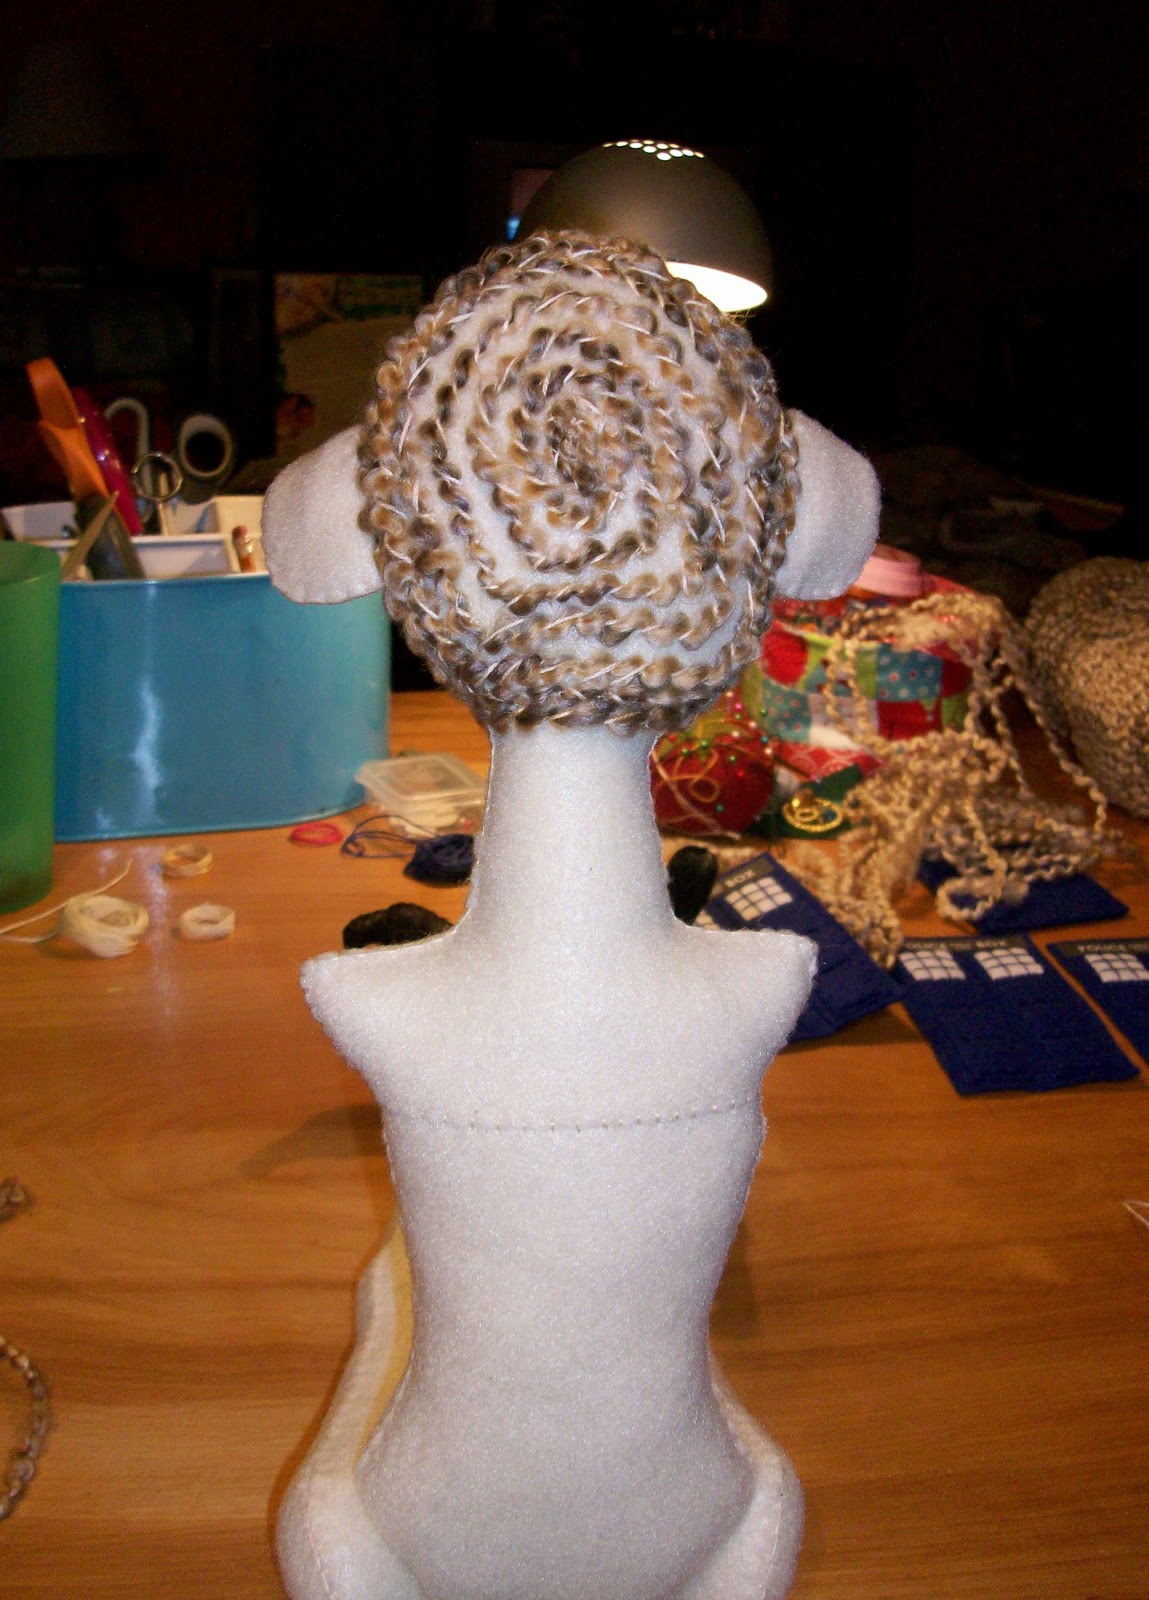
Hi everyone! I know I said I'd have the Elf doll finished this week to show you but the final details have taken longer than I thought they would. She does finally have hair but I still need to make her cloak. For some reason the cloak design is eluding me.

So I decided to show you a peek at another work in progress to tide you over until I'm done with the first one. I hope you enjoy seeing this one too!
She's a Mermaid!
She's based on the same construction as the Elf doll so I won't go thru all of that again. I adore her green eyes and wish that I had done the Elf with green eyes...oh well. Hopefully I'll have the Elf fully finished by next week. Thanks for stopping by! If you like leave a comment so I know you were here. ;0)

Wednesday, March 9, 2011

Worktable Wednesday

My worktable today.

Send me links and let me see what you've got going on your worktable today.

Thursday, March 3, 2011

Anatomy of a Doll - Part 3

Well on to Part 3 of this series. I believe we were left with a limbless torso on Tuesday? In a Zombie world that would be great fun but not what I'm going for so here she is with limbs pinned on and naked. 
 If you are a long time follower then you know I tend to have naked dolls laying around at various times. I actually have about 10 right now. Not sure why I do that and the dolls certainly don't like it. Maybe it forces me to finally do clothes? Anyway when the limbs are on they will be button jointed so she can be posed somewhat and also sit.

UPDATE: I added links to the bottom of this post so you can follow along from start to finish. 

On to clothes. I had an idea in my mind based on my limited knowledge of how clothes are constructed and knowing where my strengths lay. A wonderful doll maker friend suggested that I use paper towels to fit the clothes and I've been doing that ever since. Saves messing up a lot of fabric!

Here I have the basic dress idea pinned together. Yes she is still armless. I find it easier to move the doll around without the arms on. They will be added last.

I dug thru my fabric stash and found this great green fabric but only had a fat quarter of it so couldn't do the wider skirt I originally had in mind but I like this one.
I was going to sew this on the machine but my hate/hate relationship with it came to a head and I almost through it out the window! So after I calmed down I hand-sewed the darn thing. I even put a lining in the skirt. So proud of myself!
Then I started on the top of the dress. Sometime after Midnight one night I decided to embroider it. I love embroidery but I don't really do embroidery. So this was just another new thing I pushed myself to do and I really like how it came out.

So now she's dressed and you've all caught up to me in real time. I need to do her hair and attach her arms and make a cloak for her cause well....Elves need cloaks. Yep she's an Elf and I couldn't be more pleased. Part 4 will continue next week and will be the final post on this doll. Thanks for sticking around and reading my ramblings.

You can find PART 1 HERE, PART 2 HERE and PART 4 HERE.

Wednesday, March 2, 2011

Today is my Mom's Birthday

So I decided to take a step back from the doll project and show you all what I made last night for my mom. Today is my mom's 70th birthday. She doesn't look 70 really so high hopes for me keeping my youthful appearance! Anyway I made her a sweet little plush cake holding a banner in her favorite colors.
 My silly cake
 I wish I could take credit for the design but I can't, it belongs to the wonderful Elizabeth of Bluebird Papercrafts, formerly Creative Breathing. I did this cake in my personal style. Elizabeth is one of the most creative people I know and she doesn't sell any of her work. Get this, she freely gives you her patterns! Amazing right?! Besides sweet plush she is an amazing paper crafter, please go check out her blog if you never been there before. I know you'll spend hours reading thru her stories and looking at her marvelous creations. http://creativebreathing.blogspot.com
 Isn't Elizabeth's version sweet?
I couldn't find a link to this on her blog. I know it's there somewhere cause I've had it saved on my computer for a long time. Her roses are outstanding and mine not so great but mom will love it anyway. Happy Birthday Mom!

Tuesday, March 1, 2011

Anatomy of a Doll - Part 2

O.k. now where did I leave off? Oh yeah, so when the doll finally told me who she was I was able to start the details. By the way she told me she was either a Fairy or an Elf. I've never made either one before so I was excited to get going. I started on the ears. Both elves and fairies have pointy ears so if I changed my mind I was good to go anyway.

UPDATE: I added links to the bottom of this post to the other posts in this series so you can follow along from start to finish. 

 
 I wanted to be able to pose the ears so I sewed chenille stems onto the ear into the shape I wanted and it worked really well. It was the first time I've done something like that.

I played around with ear placement for a while then got to sewing.

Here she is stuffed with her ears on. (Oh that sounds like some gross taxidermy experiment!) Majorly in love with her eyes.

Next I did her hands. This is the very first time I've done hands with fingers. I was really nervous but very pleased with how they came out. My doll hands to date have been a variety of paddle shapes and recently a square hand with a thumb as show below.

I thought I had a photo of me doing the hands but I don't. I wanted to be able to pose the fingers and bend the arm so I did a pitchfork type of wiring that seems to work just fine.

Again I used chenille stems then stuffed the fingers carefully. This is all a first time learning process for me.

Next the legs. Remember that great leg and boot? Well I'm not sure if it was the design or the embossed felt I used but the boot came out so skinny. 

Not real pleased with it but decided to add a sole and the bottom of the heel to give it some weight which helped a little. Loved the snakeskin felt for the boot so decided to use it anyway.

Oh remember my idea for the more natural breast? Yeah it's more like a boy chest than what I was going for but it's fine for this particular doll. (have to give the design more thought)
Thanks for reading along today. Hope you are enjoying seeing what I'm doing as much as I'm enjoying trying new things.

You can find PART 1 HERE and PART 3 HERE and PART 4 HERE

LinkWithin

Blog Widget by LinkWithin