A Simple Name or Monogram Project Tutorial
Here the background to this project. My daughter and I were talking about how she wanted her name in big letters to hang in her bedroom way back when she moved her bedroom into my old studio...late Spring? Anyway the darn things are expensive for the mom on a tight budget, so I found those big letters on sale at Joann's, you know the cardboard dimensional ones? I never see them on sale so I grabbed 3 of them intending to come back later for more and I never did. But it was o.k. cause my daughter mostly goes by her nick name anyway and those were the letter's I got. Hope you are still following this rambling.
Need for this project:
Big Letters
Paint
Felt, Fabric or Scrapbook Paper
A Good White but dries clear Fabric/Paper Glue
Scissors
Paintbrush
Optional: Ribbon, crystals, buttons, flowers etc.
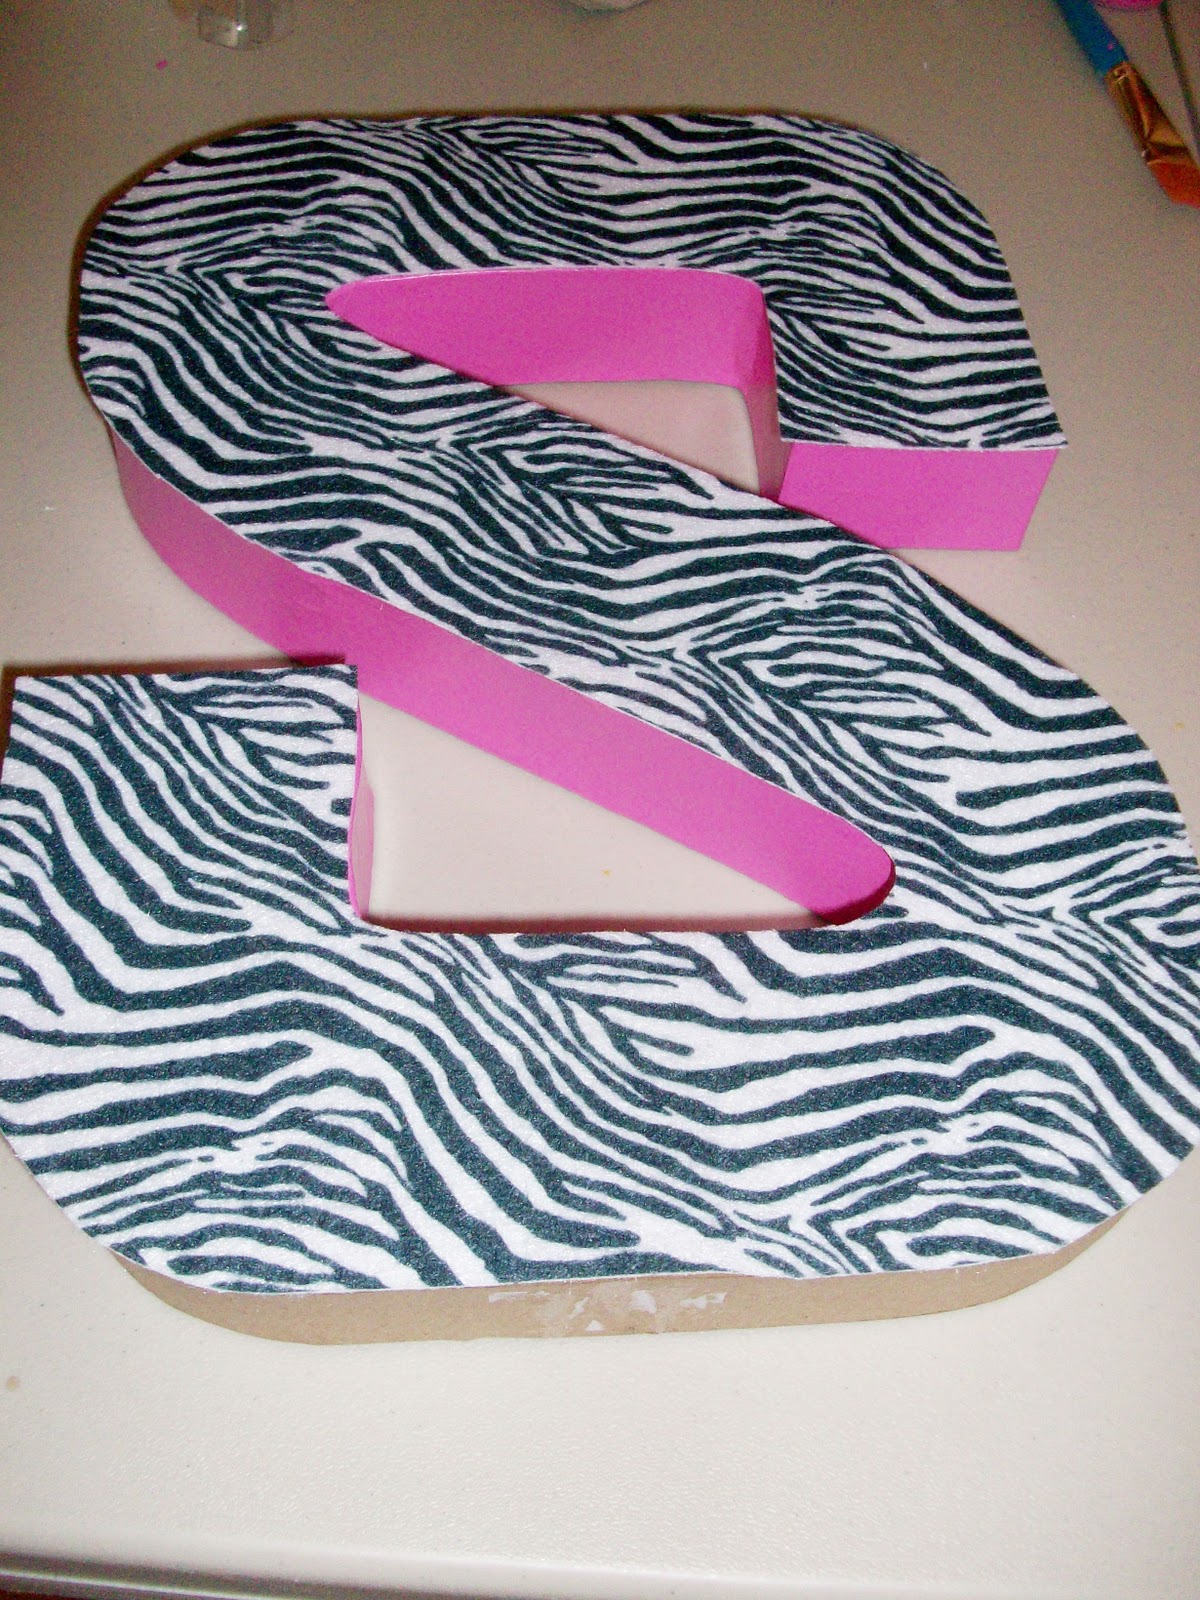
O.k so I didn't originally intend this to be a tutorial but part way thru I thought "hey why not?" so that's why things are painted and I don't have a photo of supplies laid out. But you'll get the idea. These are the big letters. They are about 9" x 12". My daughter wanted zebra stripes and pink like the Christmas stocking I did for her a few posts ago. This size is perfect cause they fit the felt sheets that I bought previously.
I painted all around the edges and part way onto the front with pink gloss paint. Painting slightly on the front is important because if your fabric, felt or paper is slightly off you don't want to see the brown cardboard peeking thru and if it's painted it isn't noticeable.
Here's the paint I used, simple craft acrylic. I choose gloss cause I thought it would be easier to dust off. It took about 3 coats.
Next I took my felt sheet and flipped it printed side down. Place the letter backwards over it and traced with a pen.
At this point I realized I should probably paint the backs of the letters. I did paint the bottoms too but just hadn't done it yet here.
I checked the fit of the felt and went back to trim them a bit.
Then I thinned out a bit of white glue with water and brushed it on the fronts and pressed the felt into the glue. When that dries you could glue ribbon all the way around the front or add paper or silk flowers or crystals or buttons and bows to jazz them up. I left them pretty plain which is how my daughter wanted them. I did this project for under $20.00.
They now reside on top of her computer desk and she loves them. They also match her bedding too.
I hope this simple idea sparked something creative for you!


4 comments:
love your tutorial. very cute zebra print with the pink. lucky girl.
Turned out super cute!
Very cute....:)
Sooo cool!!!!
Post a Comment